Tim A Shaw is an artist and co-founder of Hospital Rooms, Making Time and the Dentons Art Prize. He makes installations, light-sculptures, paintings, and mixed media assemblages that often form immersive environments outside of the gallery space.
He studied Fine Art at Central Saint Martins and recent group and solo exhibitions include The Waiting Room at Wimbledon Space, London and Voice of a Generation at the Quin, New York.
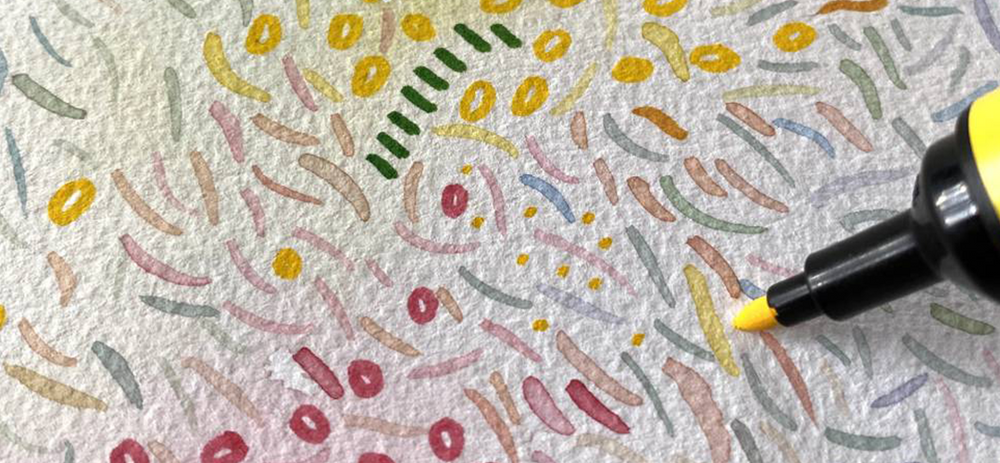
It’s been a while since I’ve been on a plane, but I would always bring art materials on flights and make small works on paper that could fit comfortably on a folding tray and then back into my carry-on luggage when finished and dry. Many of these would be made using Promarker or Promarker Watercolour, and I’d often bring a watercolour brush and use bottled water to mix the watercolour. It’s a good way to paint in a confined space.

Applying a wash to a large area is possible by applying colour from the brush nib to a palette/plastic lid and mixing with a loaded brush and controlled stokes can be applied straight from the brush and bullet nibs.
I’ve been doing a lot more working from home (I guess you can call the long pink dining table in my apartment my new home studio), and Promarker still play a part in my day-to-day work. I’m more likely to apply washes with tube colour with the luxury of more space, but the marks made by a lightfast Promarker Watercolour can be unusual and satisfying.
I find they work slightly better on cold pressed paper if working with them with a brush and with the nibs. The pigment is milled finer to flow through the nibs meaning the colours stain more than pan and tube colour, especially so on hot pressed paper. On cold pressed paper the colour can still be lifted easily, and the texture of the paper is still smooth enough for the bullet and brush nibs to move satisfyingly over the surface.

The painting above is made only using Promarker Watercolour as a background and controlled Promarker marks in the foreground. The background wash is soft (more intense colour can be achieved using tube colour) but works well wet-on-wet when applied with a brush. The controlled foreground marks made with Promarker are ones that could not be achieved with a traditional brush. It is another tool to apply colour but has a different sensibility and the potential for a more graphic mark to be made. Promarker ink works very differently on watercolour paper as to a smoother paper like marker paper, but I like the results either way.
Traditional Promarker can be satisfying to work with - blending between close colours by working them into each other when still wet is quick to learn and laying down consistent block colours with the chisel nib is great for making graphic or illustrative images.
Working with these markers on Bristol board gives a smooth and robust surface that allows blending and layering, but if they are to be displayed as artworks need to be framed using UV glazing as, unlike the Promarker Watercolour (which are pigmented markers), they are dye-based and therefore not lightfast.

You’ll see in these Promarker drawings that the smoother, flatter colours that blend softly are on marker paper (right), whereas the more textured marks have been applied to watercolour paper (left). I find that working with a mix of Promarker, Fineliners and Promarker Watercolours can be an effective and gratifying way to sketch and plan on different surfaces.
You can find out more Tim’s work here.
Recent Articles
April 18, 2024
Hahnemühle Celebrates 440 Years
April 15, 2024
Blossoming As An Artist with Sandy Terry

April 12, 2024
The Opus Warehouse Sale 2024
April 05, 2024
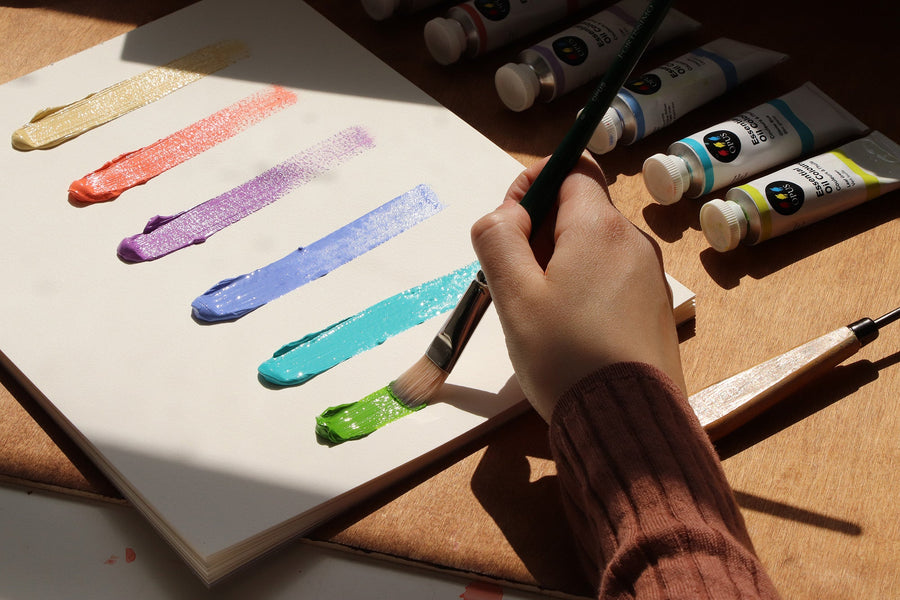
Revival of Colour with Opus Essentials Spring Colours
April 02, 2024
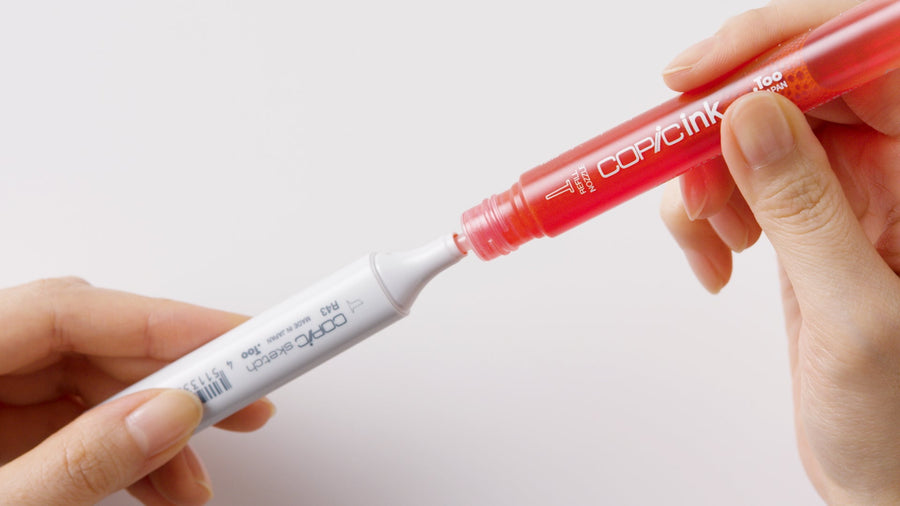
How To Refill COPIC Markers

April 01, 2024
Liquitex: Just Imagine 2024
March 28, 2024
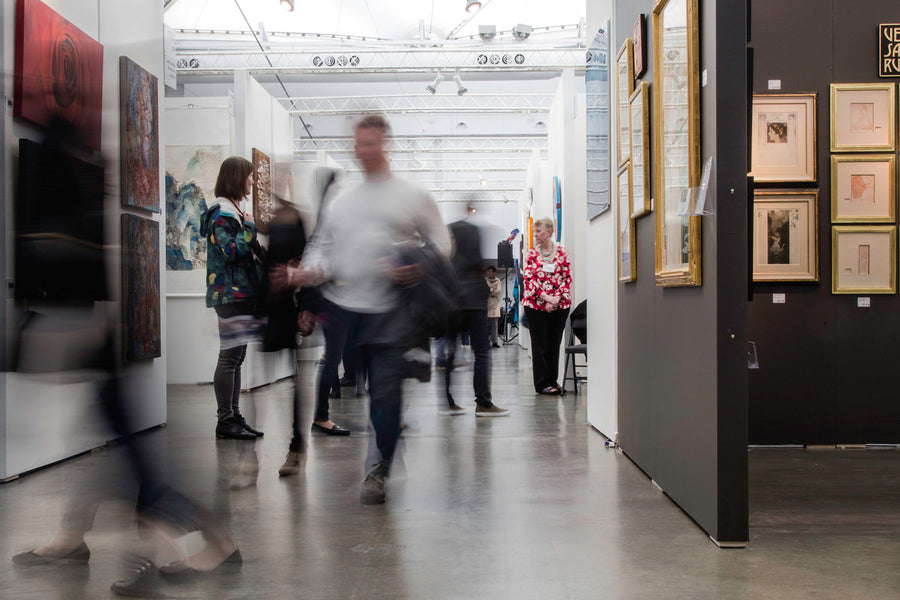
Art Events: Art Vancouver 2024

March 23, 2024
An Exploration Update with Cara Bain
March 20, 2024
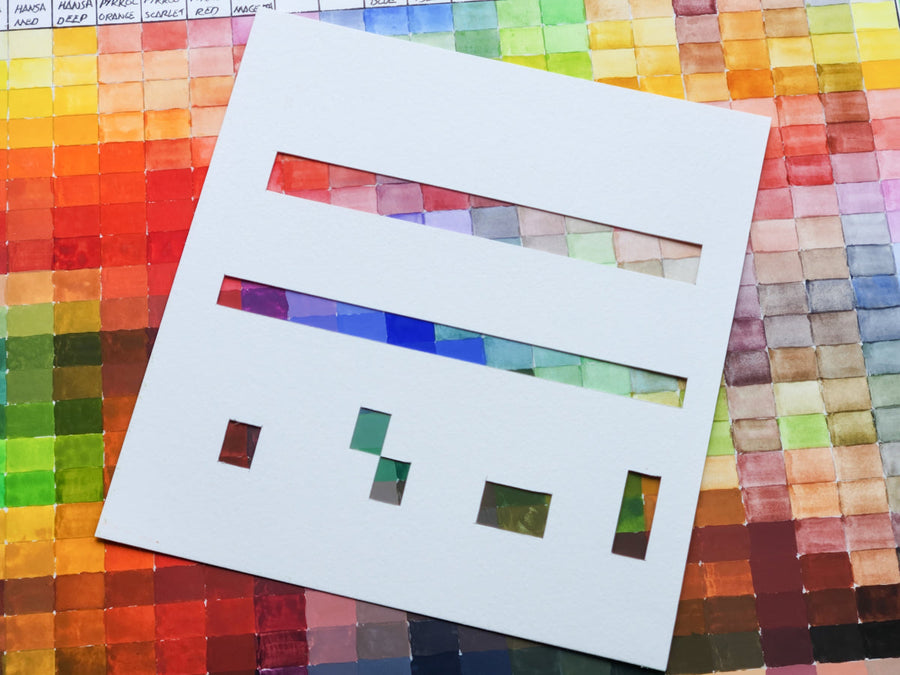
How To Make A Mixing Chart with Daniel Smith Gouache
March 19, 2024
Learn to Draw Like Beya Rebai with Neocolor II

March 13, 2024
Customize Your Leather Trainers with Floral Motifs

March 13, 2024
Customize Your Own Leather Pouch
March 13, 2024